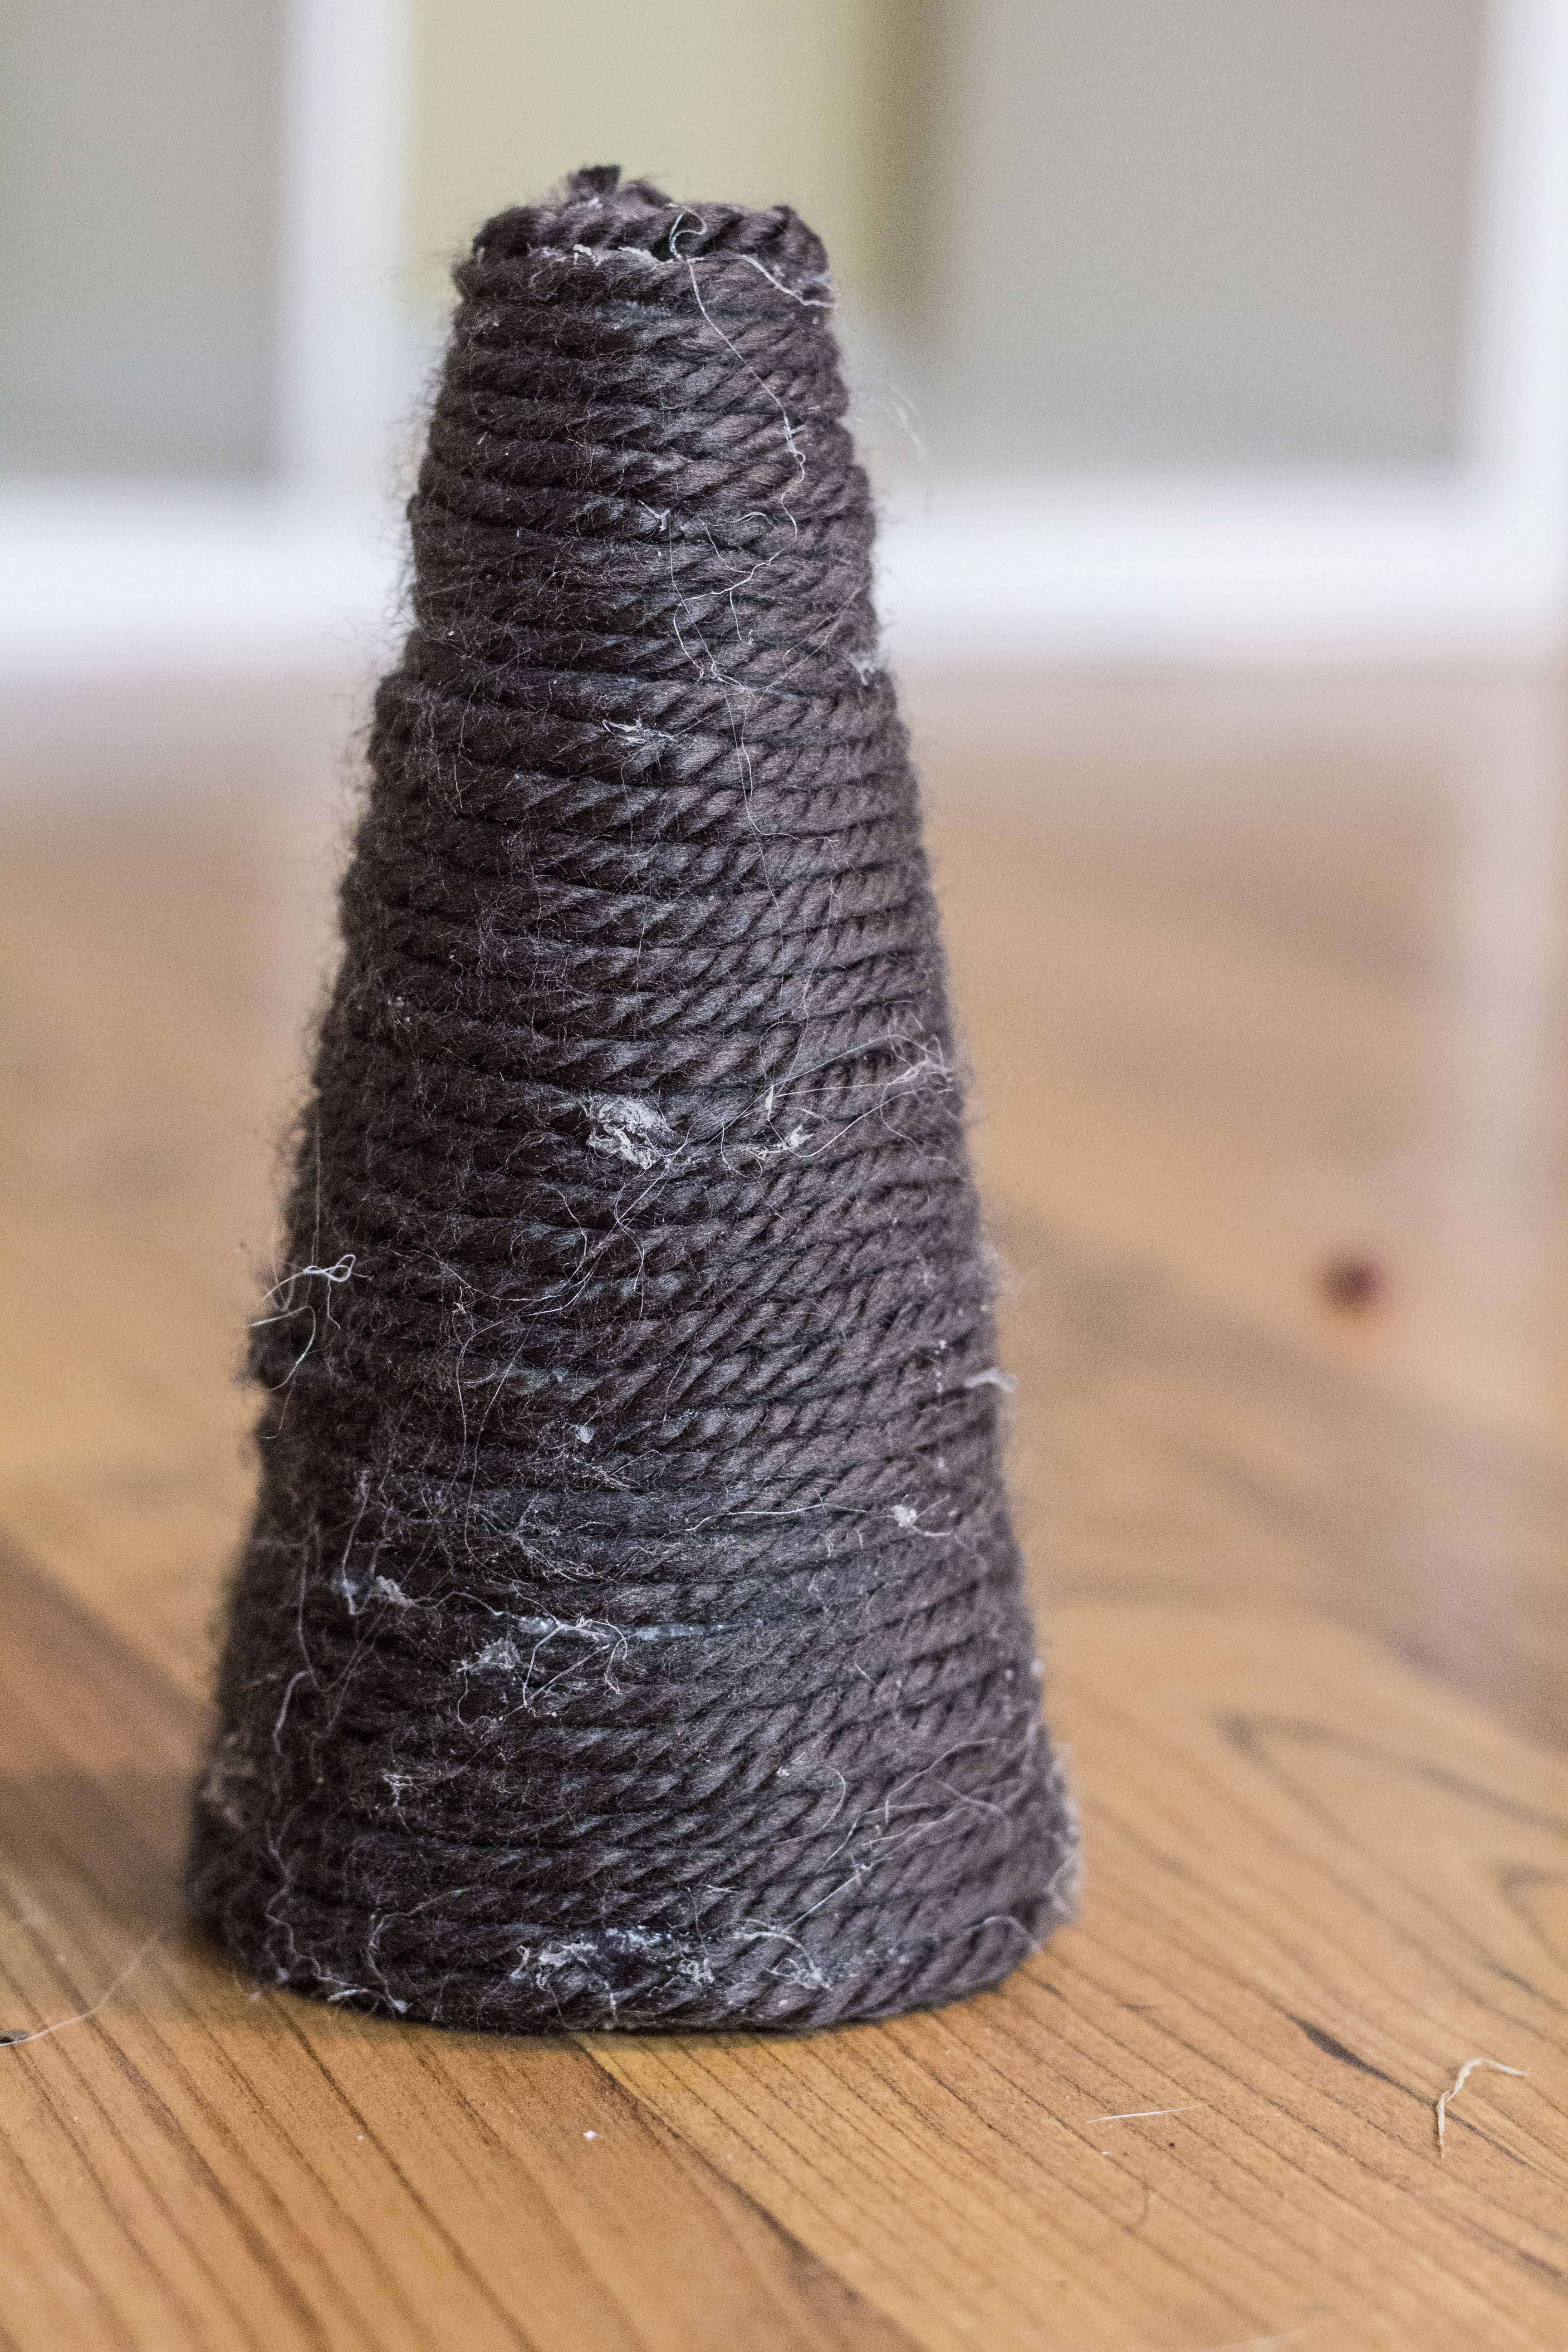
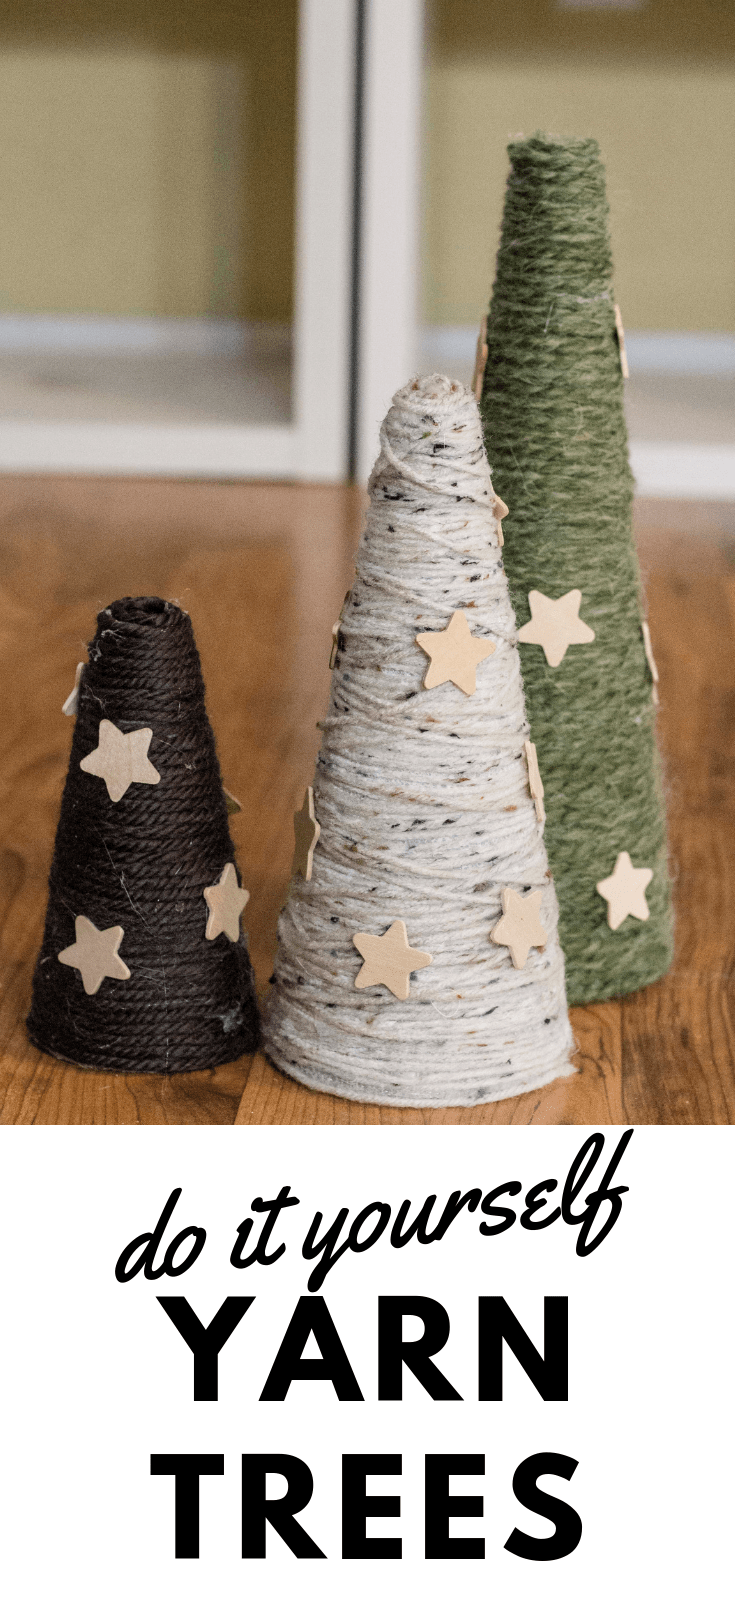
Y’all, I have discovered yarn crafts, and I am in love. Aside from tassels and pompoms, there are so many things you can make. This year, I made yarn trees for my Christmas decoration collection, and I love them!
These crafts are great because you can do so much personalizing. You can choose what kind of yarn you want to use and what color. You can also decide how you want to embellish them. I love natural elements, so I chose the wood little stars.
I considered painting them, but I decided against it. Personally, I think leaving the pine-color helps my scandinavian-boho aesthetic in my home.
As for yarn, I chose a thicker, fluffier yarn because it was easier to use. When you buy a thin yarn, it’s harder to avoid gaps.
WHAT YOU NEED
Yarn
Hot Glue
Styrofoam Cones
Mod Podge
Brush
Stars
INSTRUCTIONS
Start by applying a thing line of hot glue to the base of your styrofoam. You will have to work quick to wrap you first layer of yarn.
It is important to use the hot glue for the base to keep it sturdy. Then, using your brush, apply Mod Podge to about 2 inches above your first layer. You don’t want to apply Mod Podge to the entire cone just yet because it will be hard to work with
The Mod Podge will be wet, so it wont immediately set your yarn. In order to keep structure, I periodically used the hot glue on a layer. Trust your judgement. Make sure the yarn is close together to prevent any holes.
Once you are done wrapping your cone, use the hot glue gun to add your stars. If you made any ugly spots, this is a great way to cover them up (haha).
Let your tree dry for a day! Then, it is ready to get your home ready for the holidays!


